
June of 2019, I got the honor of going to a wedding in Upstate New York. While staying at in Barker, I was only about an hour away from Niagara Falls. So when we weren’t having a cookout/family time or setting up for the Wedding drove to Niagara to witness the “awe-inspiring scenery! “
Niagara Falls:
Here’s what you need to know before you go:
- Dress for whatever the weather is
- It was June when I went. It was warm during the day and 50-ish degrees in the morning and the evening when the sun was down.
- Wear comfortable shoes that can get wet…because t’s a giant waterfall.
- Know where to park.
- When we got there before 8am the parking lots in town were already full and the ones that had room were $20+
- Goat Island is where the Park provides and it’s only $10.
- Know what attractions you would like to go to
- There are attraction are on both the American side and the Canadian side. You can cross the board to Canada do to attraction on that side during the day and all you will need is your passport. But your purchase is only for one side of the park
- The Canadian side:
- Disclaimer: I didn’t get a chance to go to the Canadian side but I talked to a couple who did and here is the gist of what they said:
- The Falls are beautiful during the night because they get illuminated by lights and the view from this side is breath taking.
- You can get a hotel with a view of The Falls.There is an underground tour called Behind the Falls that you can take to a cave mouth that is off the cliff side.
- Here is a list of Tours you can take on the Canadian side.
- The American Side; I did the American side so this is based off of my own experience:
- After parking you can get a pass get a pass from anywhere that sells the Discovery Pass.
- I found it to be a better opition cost wise rather than buying everything separately. I will say that it took me two days to do everything.
- The ones I enjoyed most was the Cave of Winds (it’s a timed tour so book your time spot as soon as you get there) and the Maid of the Mist.
- You can read more about them down below.
- The Trolley was well worth the $3, if you purchase the pass the Trolley is free for one day. It takes you to all the all the islands, attractions, and the parking lot. It’s a lot faster than being on foot.
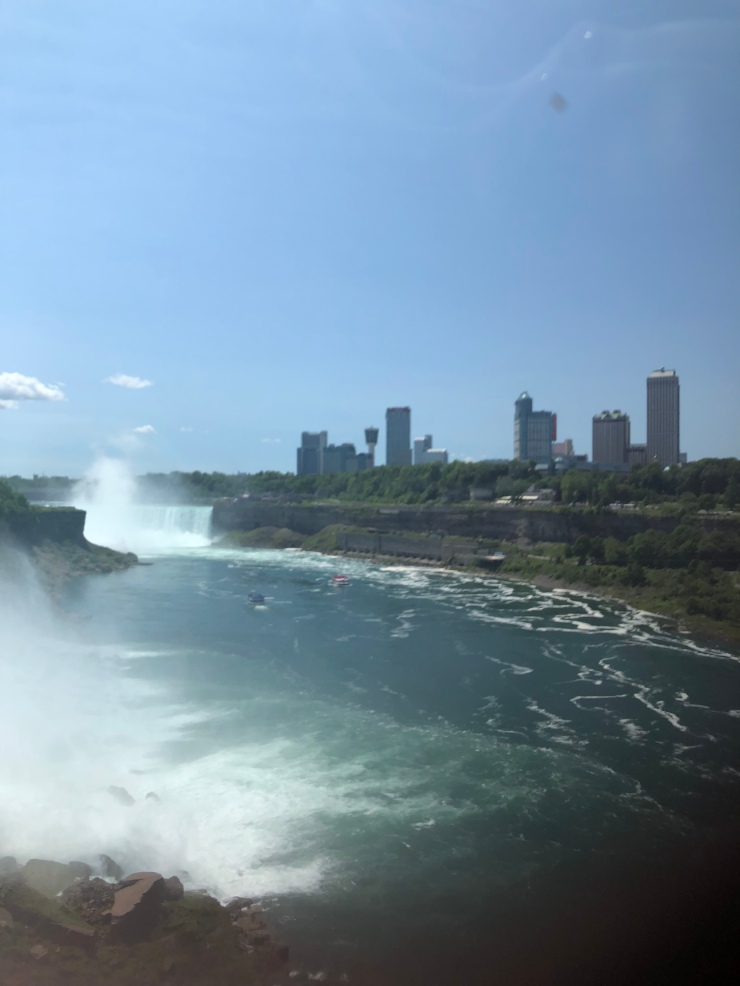
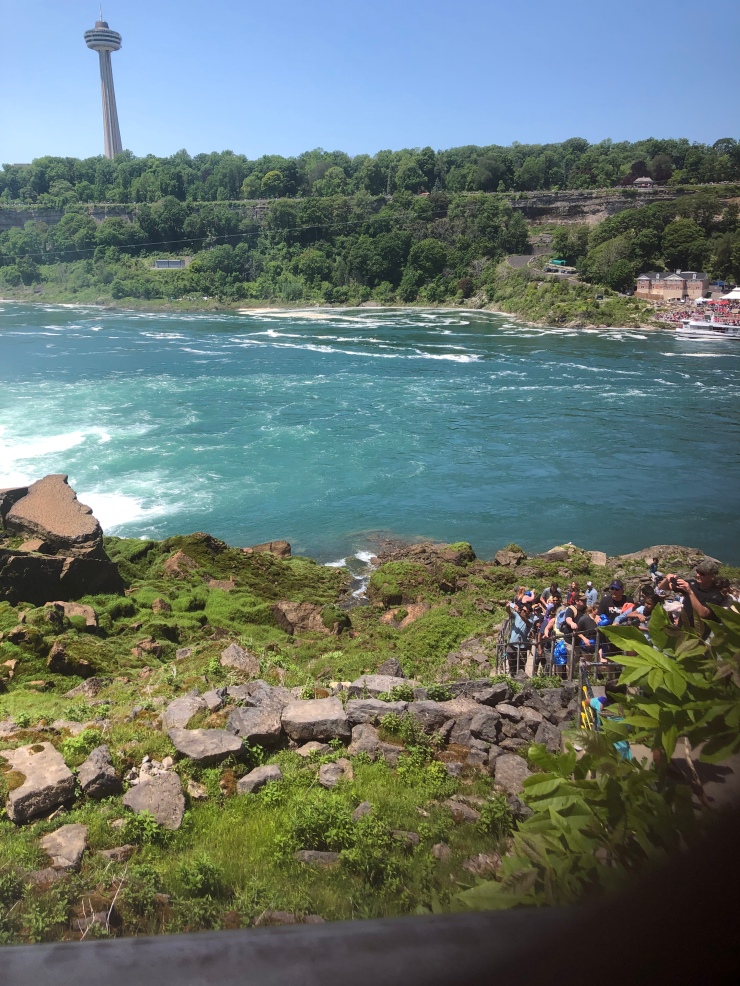
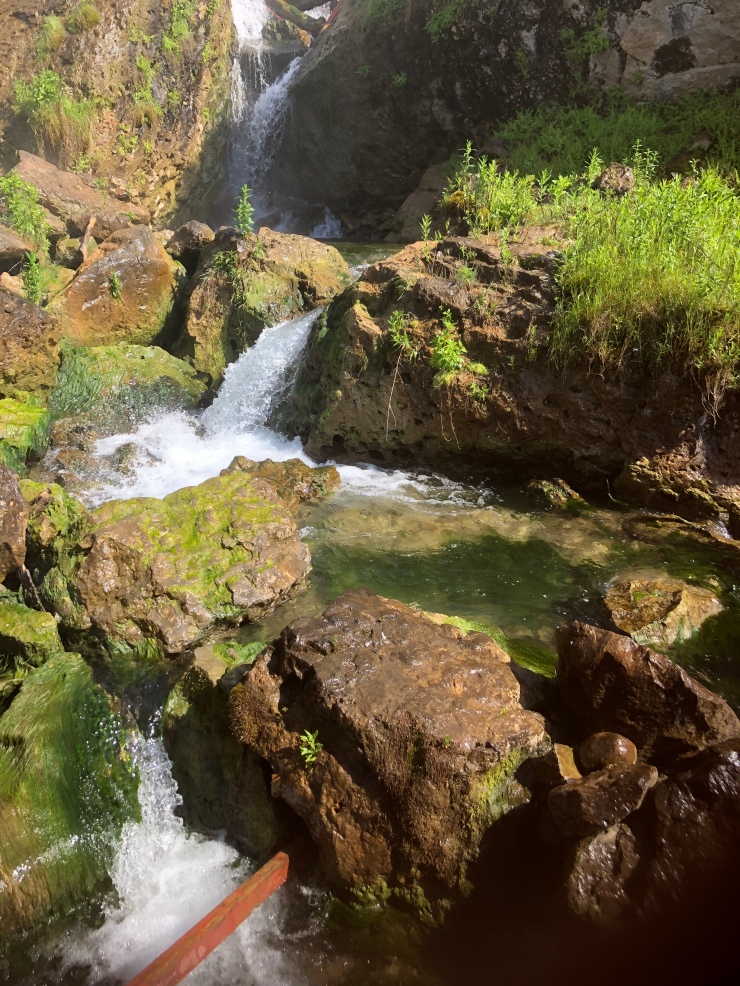
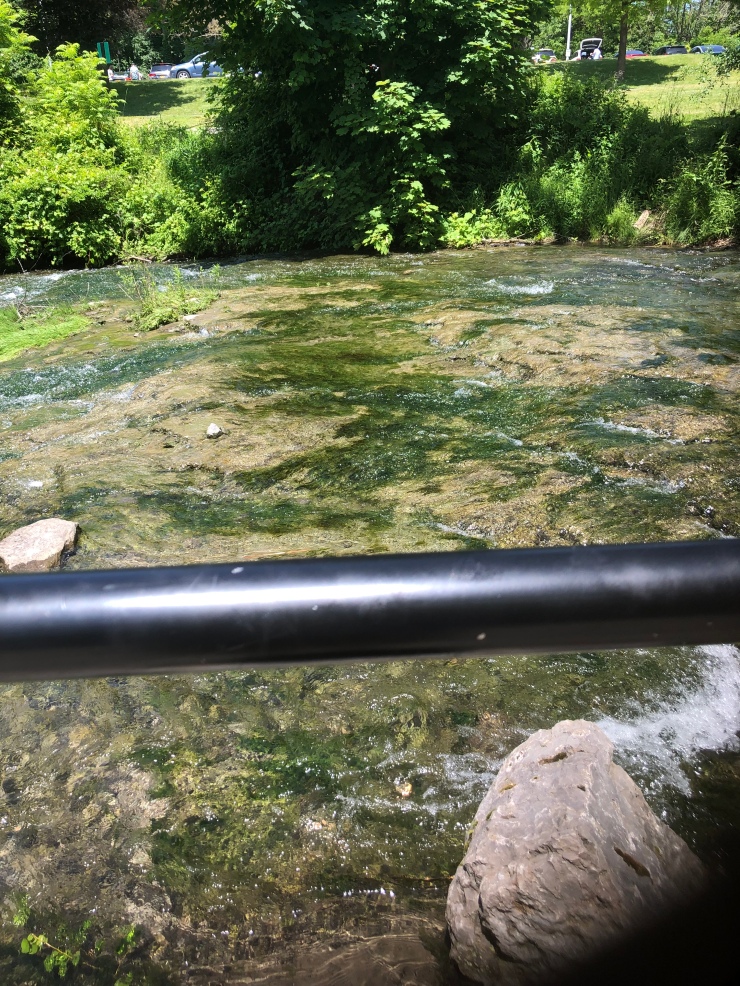
When we got to Niagara Falls we parked on Goat Island. The story behind the name is that the island use to be full of goats. Unfortunately, there are no more left. Below are the pictures I took while walking along some of the paths they have on Goat Island.
-
-

-

-
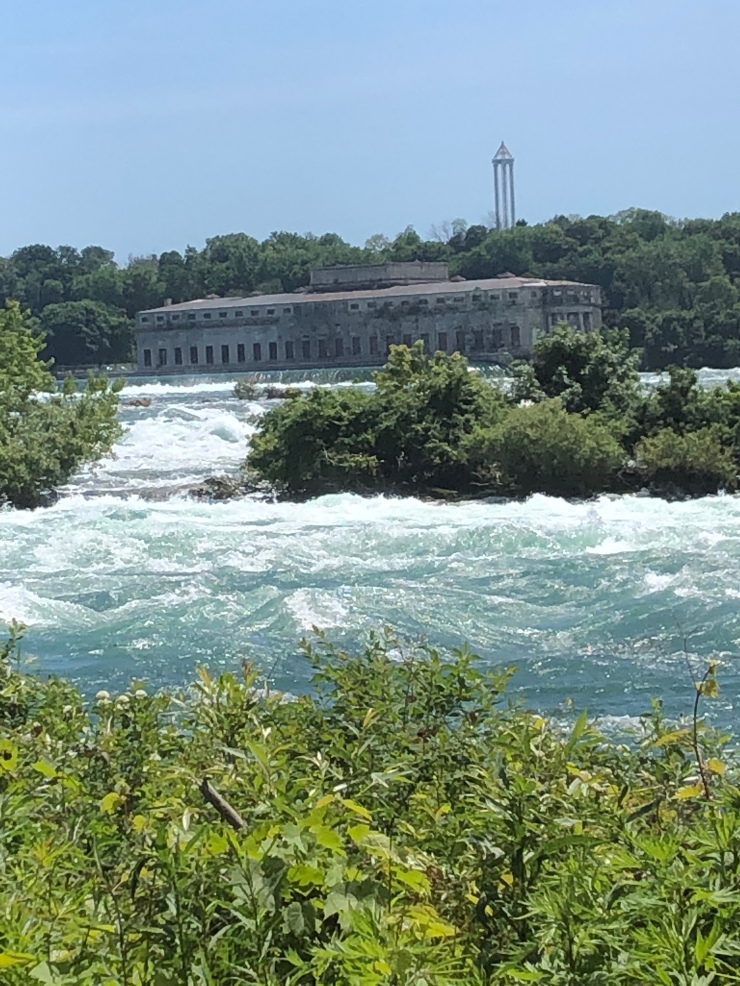
An Old Factory that used to power all of America -

-

-

-

-

-
-

-

-
-

-

-
-

Discovery pass:
We went on the Maid of the Mist tour on our first stop. We were given a post card, a ticket, and a much needed poncho. We didn’t get super close the the Fall but we did get heavily misted by it. The Ponchos were much needed. With this purchase you can go to the Observation Deck and the Crows Nest; which is smaller than the Observation Deck but it is close to the Falls.
-

My postcard and ticket -

-

Discovery Center and Aquarium
We hopped on the Trolley and took it to the last stop which was the Discovery Center. It’s a small museum about the history of Niagara Falls. There was a short 20 minute video you can choose to watch about the Discovery of Niagara Falls by early explores, imagine that exploring was actually an occupation back then.
After we finished with the Museum we went up and over a bridge to the aquarium. I’ll tell you this much it was hard walking up hill for someone who was use to nothing but flat land, lol. But I made it and was greatly rewarded. The


The Aquarium isn’t huge because the only Marine life that stay there are those are are getting nursed back to health or those who the government deem will not survive in the wild. We got there just in time to see the Sea Lion show. The Sea Lion was so cute!
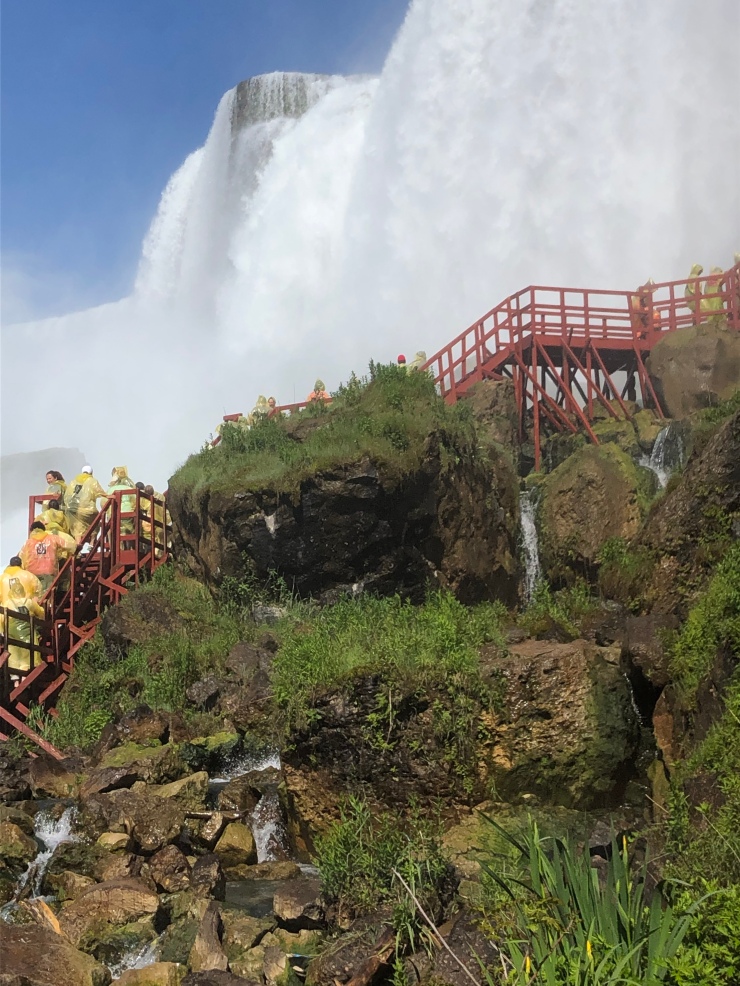
Cave of Winds
I saved the best for last. It’s the Cave of Winds Tour! This is a timed tour so pick your time when you buy your tickets. The CoW tour starts off at a small exhibit. Where you see the history of the Falls. From when it was discovered to present day. After exploring that room for 30 mins or less you go to a different room to watch a clip on how the Falls went from a private property attraction to a public property one. After that clip you go to yet another room where you trade your shoes for a water resistant sandal. Don’t worry, the sandal is included in with your ticket. After putting on your sandals and wrapping your shoes in a provided plastic bag you get to…wait in line for the elevator! This elevator will take you down 175 feet where you will then walk down a long hallway that is craved out by rocks at the end you will find someone handing out ponchos. YOU WILL NEED A PONCHO! The rest of the tour is self guide after that. You can walk up the stairs to get closer to the Falls. Since you are closer to the Falls here than any other attraction you get soaked by the mist but the actual water bouncing off the rocks and hitting you. It felt as if it was raining. I reached a point where I couldn’t even take out my phone because it would have got damaged by all the water that was coming down. And the best part is that we were at the edge of the Falls. I imagine it comes down even worst in the middle.


All in all it was a great trip. Not too pricey and just the right amount of fun. I would recommend driving down the scenic highway on your way there and maybe even stop by one of the parks that the Niagara River runs through. There are a lot of places you can hike and you can even rent a bike and ride all through the park and some historical state routes.
Thanks for reading. I hope you enjoy your next vacation! 🙂
Read More:
National Parks | Explore North America | Light House Christian Camp | Grace and Rest


2 Comments
Hi there! This is kind of off topic but I need some advice from an established blog. Is it very hard to set up your own blog? I’m not very techincal but I can figure things out pretty quick. I’m thinking about making my own but I’m not sure where to begin. Do you have any tips or suggestions? Thanks
Hey Chia! Thanks so much for reaching out. I set up my site with WordPress.com. They have a ton of amazing content. I would suggest creating a site with me. They have live chat so they can walk you through an awful lot. And YouTube videos are life savers as well. Hope this helps!